How To Photograph Coins With A Smartphone
We’ve been there–you take out that nice white cloth to polish your coins, you spend 20 minutes trying to figure out the perfect positioning for them, you take out your phone camera…just to get a picture of the phone’s reflection. Or worse, the flash reflects and blotches the whole coin face out! The point is, we can help. We’ve consulted our best and brightest, and gathered a list of directions to lead you to the best photo of your treasured coins as possible. Whether it’s for legacy, resale, or fun, dive in and take advantage of these photography tips!
Getting Started
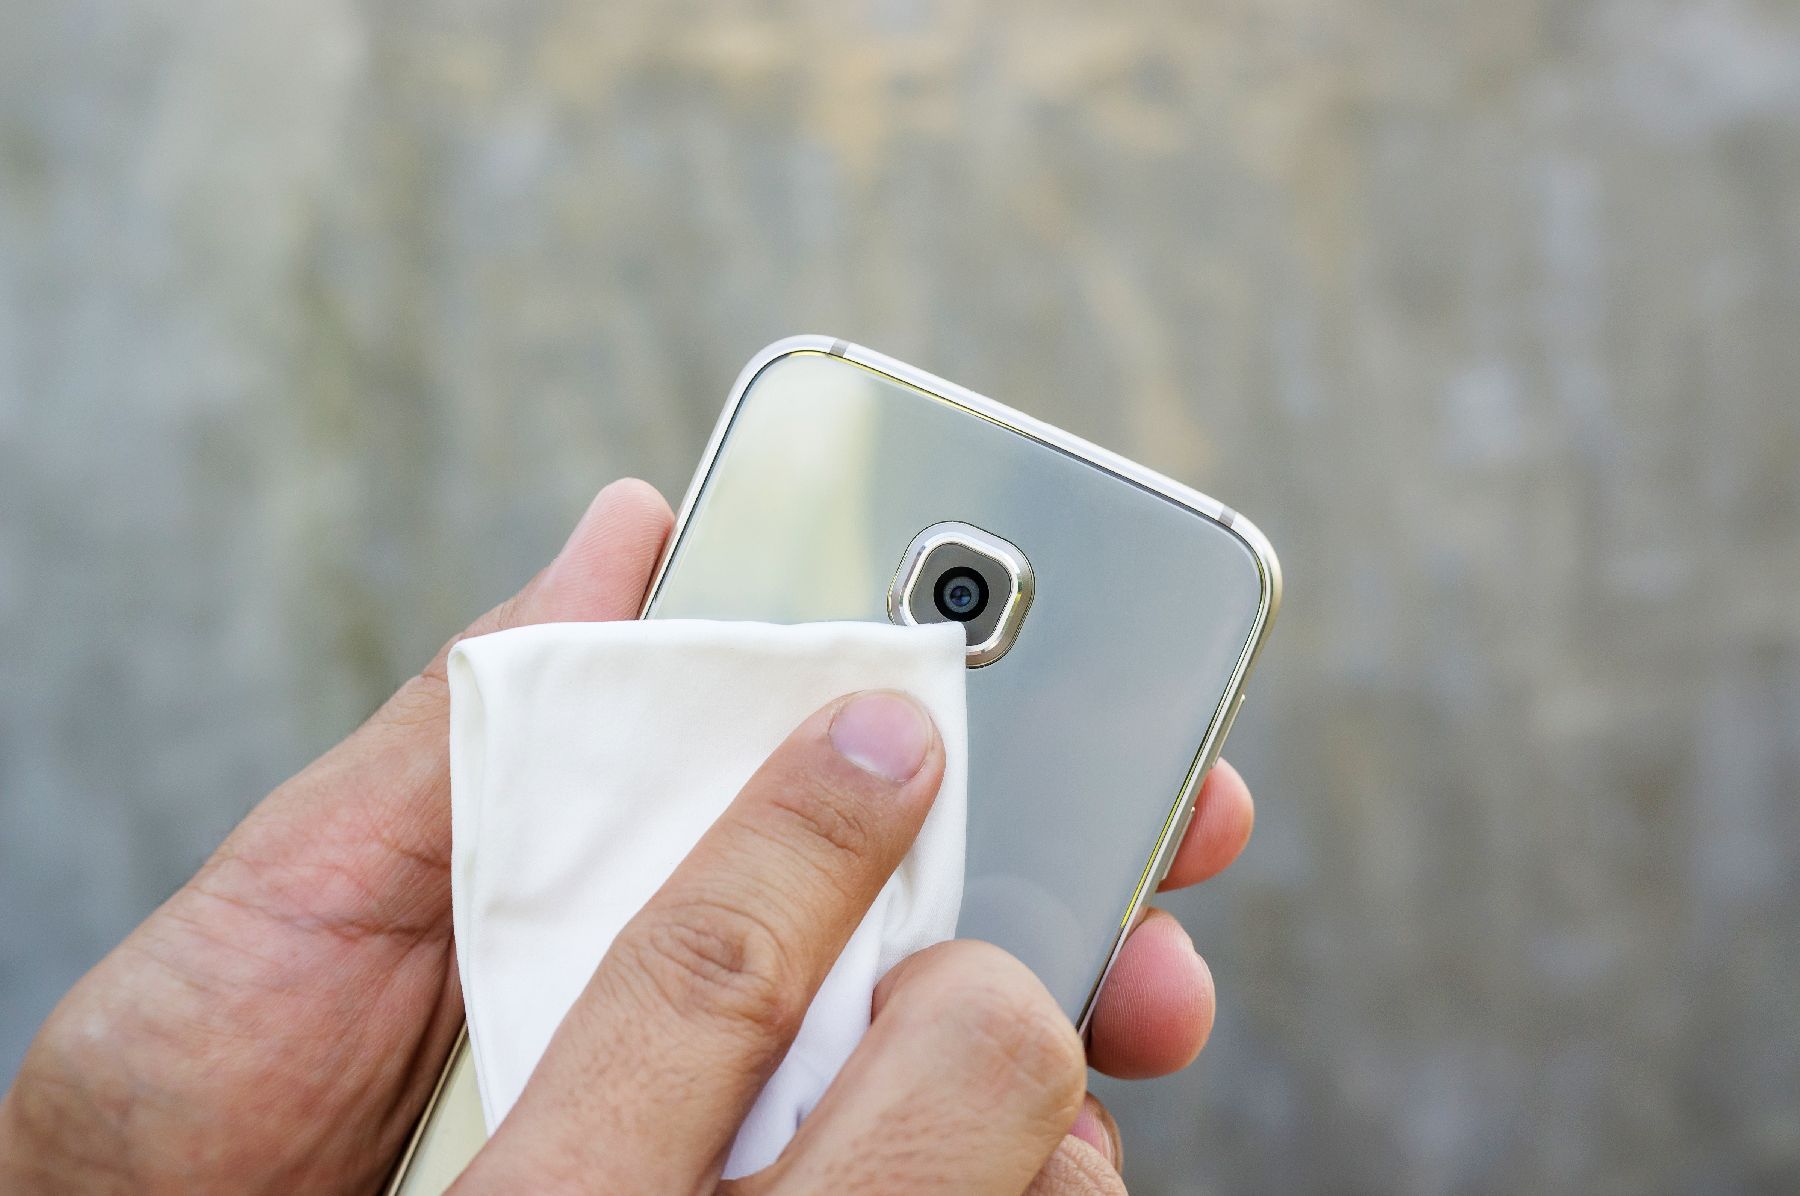
The best thing that you can do before you begin, is to clean or wipe your phone’s lens. It gets greasy from all the hustle n’ bustle. Even a quick wipe with your t-shirt will level-up your photos.
If you are planning to image graded coins–you know, the ones in the slabs–look at the plastic case as an additional “lens”. Before you start your shoot, make sure that you’ve cleaned the plastic case as best you can. Fingerprints and sticker glue are all too common distractions. Make sure your holder hasn’t developed scratches on the surfaces from handling or storage, they’re a dead giveaway of “coin abuse” in high quality images. If by some tragedy your holder has been damaged, some of it can be removed, or at least masked, using a variety of plastic cleaners and polish. Maybe have some on hand in case things get dicey.
Choosing the Right Background
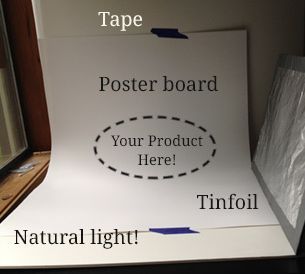
If you’re looking for a photo to share with potential buyers or appraisers, there shouldn’t be any distraction in the background. In general, a pristine white background is your best bet to highlight a coin. Grab a sheet of printer paper, place it on your kitchen counter, and then set your coin down strategically on top of it. You can even swing by your nearest dollar store to pick up a foam poster board for something a little bigger and more durable. Now if you want to get real boujee, you could look into buying one of those illuminated flat panels on Amazon, but honestly, you can usually just use what you’ve got on hand.
Lighting
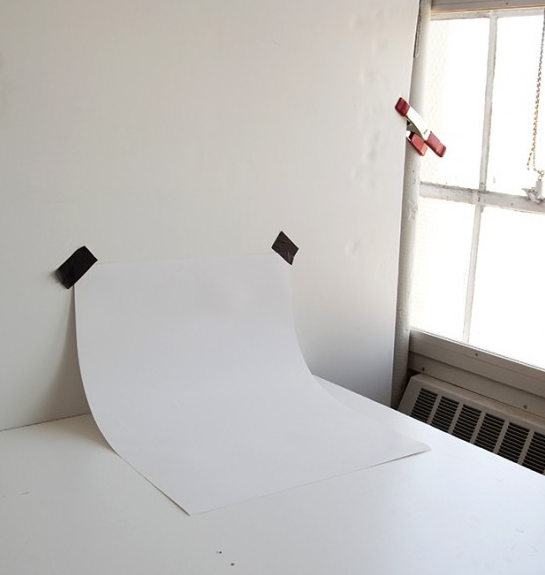
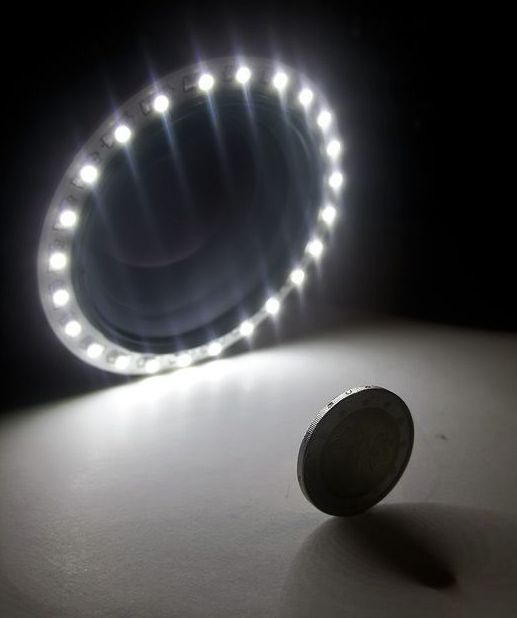
Now we all know the stigma: you need a professional camera to take professional pics. But times have changed as quickly as Apple releases new iPhones, and whether you’re working with an Apple product, Samsung, or Android, the truth is camera quality is leaps and bounds above what it used to be. So grab that smartphone and get to shooting. Make sure your setup is close to a window so you can use all the natural daylight you can as a light source for your photos. Natural light offers an even, soft light that embraces the form of whatever you’re shooting like a big old hug. Avoid using flash, especially because your precious metal coins can be highly reflective, especially when they’re all done up for glamor shots. While the more natural the light the better, if needed you could always purchase a small ring light or LED box light.
Decide on what angle you are taking the images
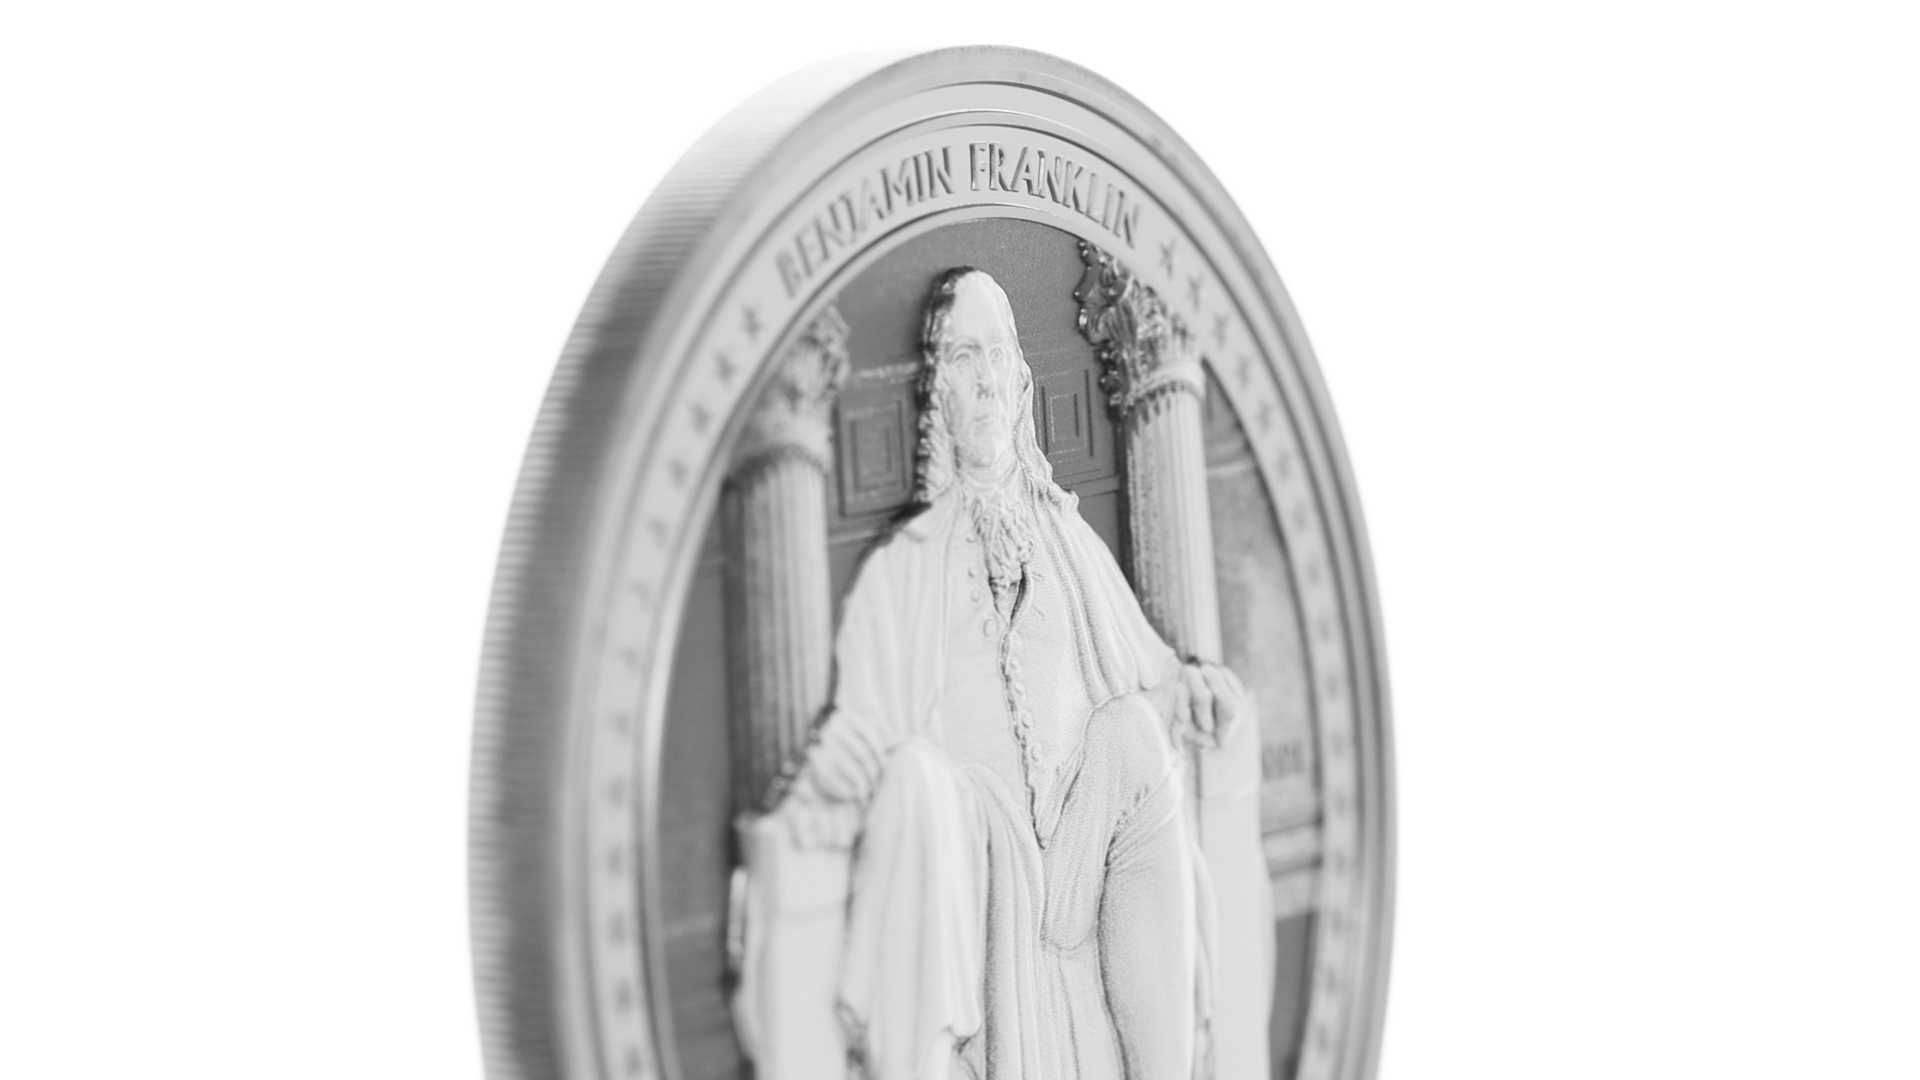
The coin itself will help you determine your angle for the pictures. If your coin is older and worn, you should take the image either from perfectly above looking down on it, or standing it straight up vertically. On the other hand, if your coin is almost new, you might consider taking the image at a slight angle. This’ll show off the face and texture nicely and show the depth and dimension of the treasure.
Secure your iPhone with a tripod or other stabilizing device
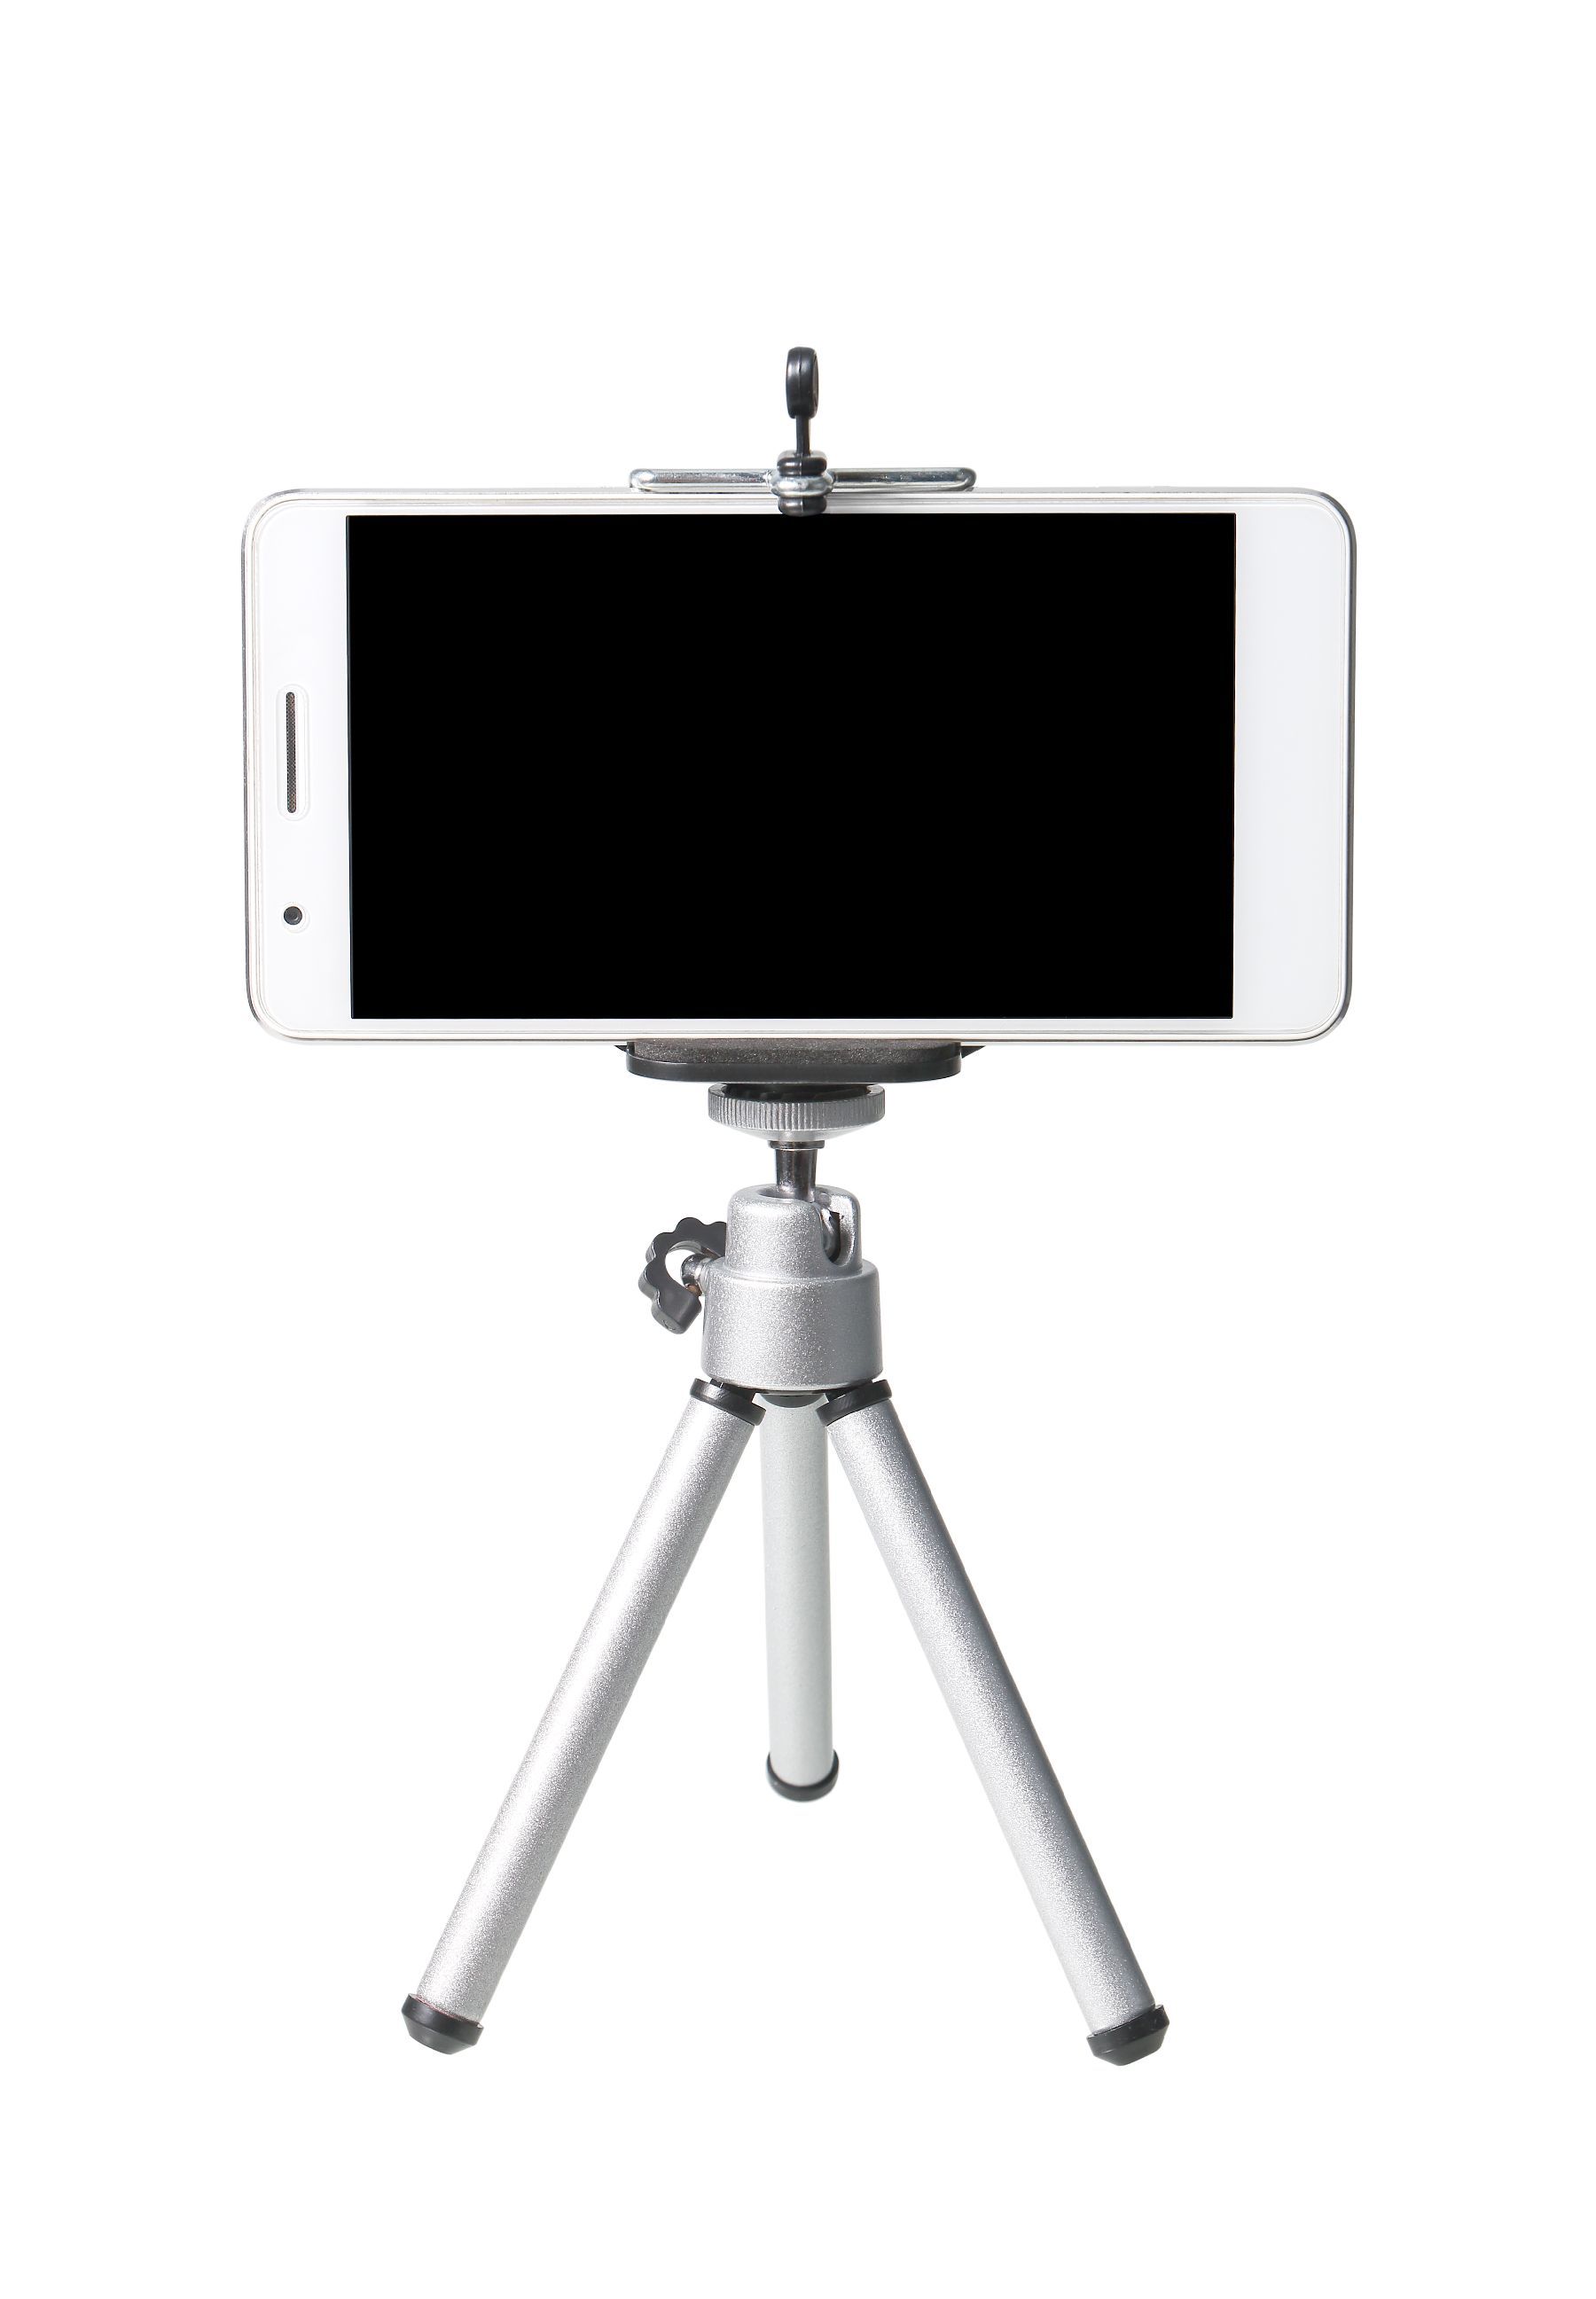
When you’re trying to capture all the details of your coin, you’re gonna want to get close to the surface. This is a photography technique known as ‘macro photography’. Macro photography is all about getting your lens as close to the surface of your subject as possible, which means that even the slightest movement could change how your image comes out. Which isn’t a breeze for those of us with shaky hands.
The best solution to hand-shaking is to use something to stabilize your camera, whether it’s a short, hand-held device like a selfie stick, a stack of books positioned in just the right way, or a full-sized smartphone tripod. If you don’t have access to these tools, don’t worry! Just take a breath, gently press your hand, wrist, or elbow up against a stable surface, and take your time to get the photo just right. We believe in you! Remember, using a tripod isn’t necessary. It’s just a helpful tool we recommend trying out at some point.
Take the pictures
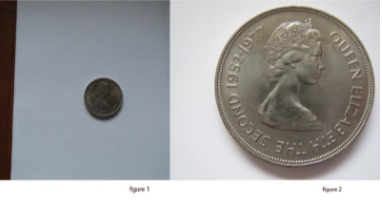
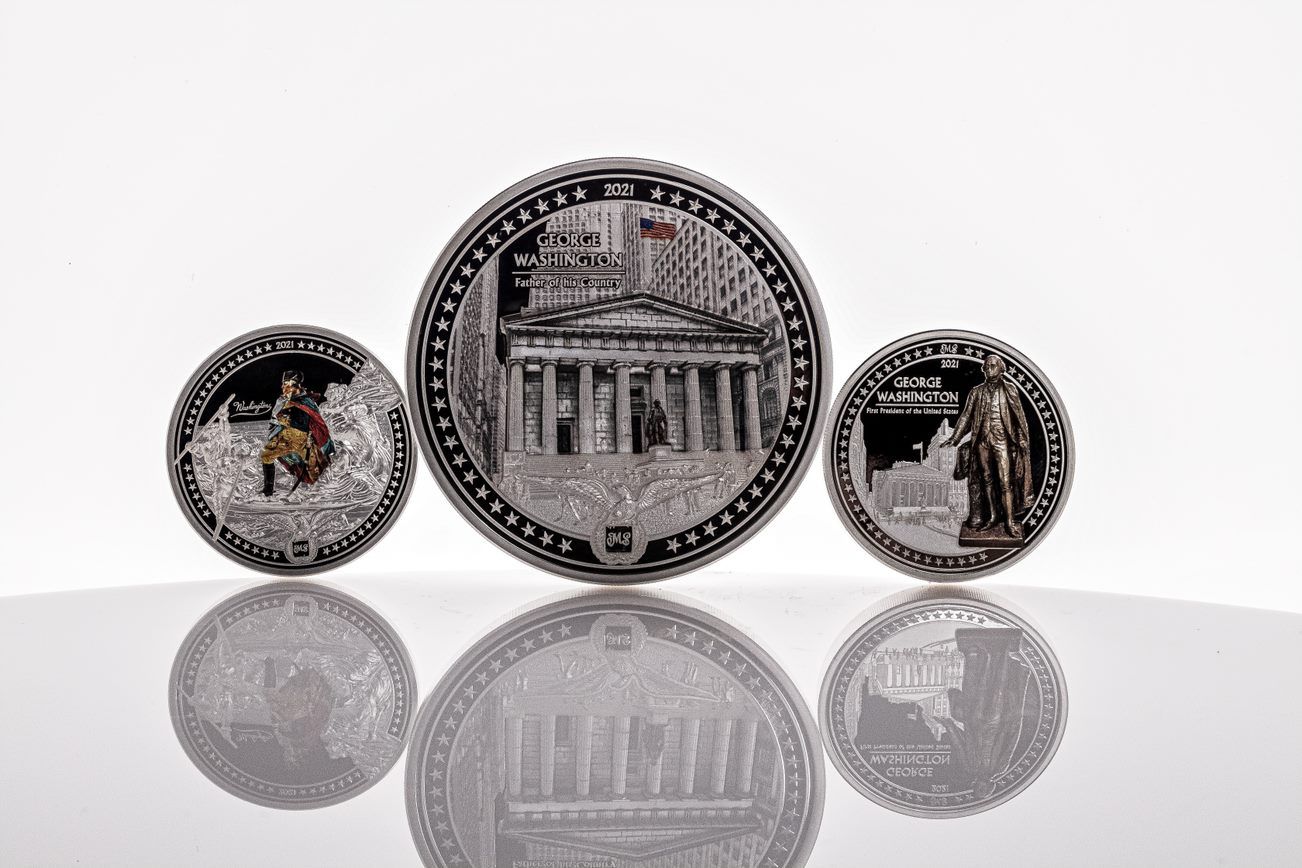
Place your coin on the white sheet and use the camera features to zoom in on the coin (see fig. 1). Next, select the ‘Macro’ function on the camera. This is a fantastic feature for capturing close-ups. Be sure the coin is in focus–sharp and not soft around the edges–and begin your countdown. 1…2…3…click! And voila! Congratulations! You captured your very first professional coin photo! For comparison, we’ve added an example below.
And don’t worry if your photo doesn’t come out as clear as day. Keep trying! Adjust the lighting, play with your photo settings, try out different positions. Make sure to check out each picture after you’ve changed an element and find out what you like or don’t like about each one and what needs to be fixed. Don’t be afraid to take as many images as you can! After all, you can always delete the extra pictures, but they can’t take themselves.
Now Go Practice
So, you’ve got the clear, high-quality coin images you were after…what next? You can always mess around with some editing, make an improvement here and there before you post your images online for auctions or sales, or send them off to get developed. Remember, if you’re trying to photograph your coin to sell, you want pictures that accurately show off your product both front and back. Aim to have two or more images of your coin in order to show potential bidders or buyers the full package of what you’re offering. Practice makes perfect!
We at 7k Metals love to see your awesome coin pictures on our Facebook exclusive page, so keep ‘em coming! Stay tuned for a follow-up article with tips and tricks for editing your coin photos.

